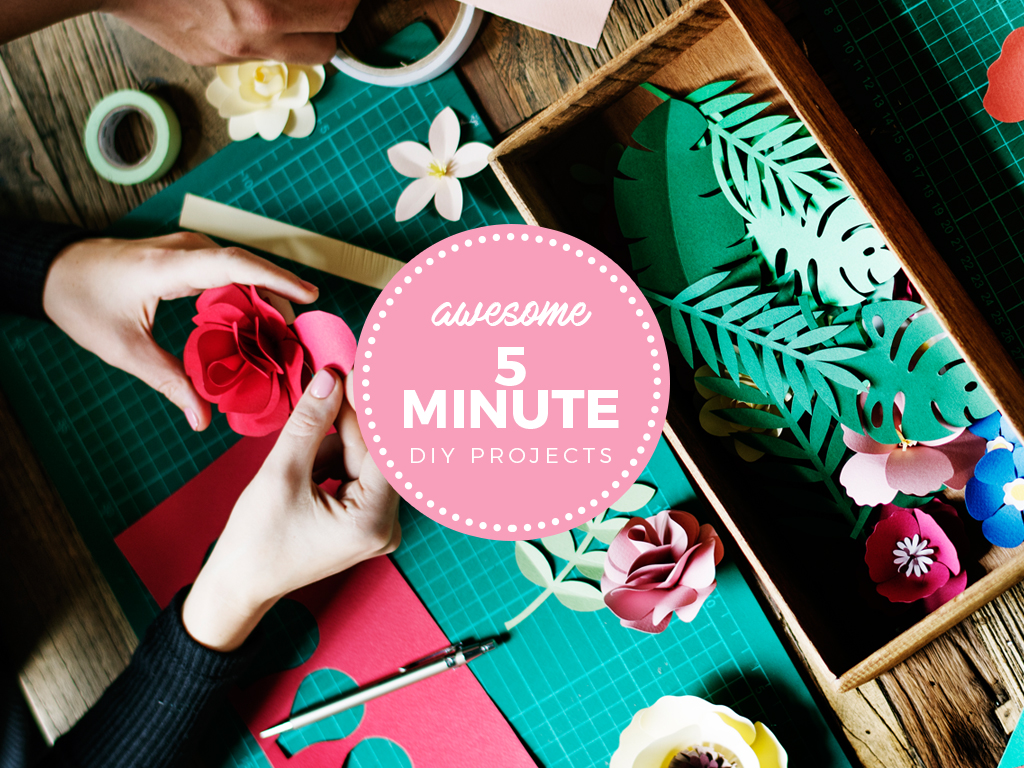
As the most-awaited season nears, looking for easy DIY Christmas home decorations for your townhouse in San Juan or anywhere in the Metro can be thrilling. Either you design it according to the traditional Christmas decors, or inspire yourself from your favorite Netflix series – the choice is yours! Here’s a few Christmas decor inspirations you can freely try on your unit:
CHRISTMAS DIY GIFT BOW WREATH

Finally, the time has arrived! If you loved keeping gift bows from every gift you get, that one made out of plastic ribbons, here’s your chance to design them into a Christmas DIY gift bow wreath.
What you’ll need:
- Gift bows
- Flora craft styrofoam wreath
- A Glue gun and a glue stick
- Wire
What you’ll do:
- First, gather your gift bows in place and shape them into a wreath. Look out for patterns and colors that will help make it appear congruent to each other despite the differences.
- Second, attach a wire onto the flora craft styrofoam for hanging purposes.
- Third, hot glue the gift bows around the wreath styrofoam and remember not to leave a space when possible. Keep it as rich as possible for a more pleasant look.
- Fourth, hang it on your front door! You’ll never look at a Christmas wreath the same way again.
PAPER CHRISTMAS LIGHTS GARLAND

Looking for a way to up your Christmas decor gaming? Try this DIY paper Christmas lights garland that will definitely remind you of Joyce Byer’s Christmas lights during her search for her son, Will, on the original Netflix series Stranger Things!
What you’ll need:
- Gray-colored cardstock
- Your choice of colored cardstocks
- A glue gun and a glue stick
- Hole puncher
- Scoring tool
- Ribbon, twine or yarn
What you’ll do:
- First, cut your gray-colored cardstock into 1 ¼” by 4” strips, and your chosen colored cardstocks in 1” by 8.5” strips.
- Second, score your gray-colored cardstock every ½” and create two marks half an inch down at 1 ¼” and 2 ¾”. Then, fold your paper on the scored lines and use a paper puncher to create two holes on both the marked spots. Lastly, fold the two ends and overlap ½” onto the other end and hot glue the cardstock.
- Third, shape bulbs. To shape these, you’ll have to fold the colored cardstock strips while lightly pressing at the crease. Then, pinch both ends together and push the strip against your palm. This will automatically form a light bulb when let go. However, if it doesn’t, try repeating the steps to achieve the shape of a Christmas light bulb.
- Fourth, string the bulb with the twine. With the strip on your hand, punch a hole at the center of the strip, and make sure it passes through both the ends’ layers. Once done with all the strips, string it together with the gray light top using the twine. Make sure to keep the bulbs at the center, surrounded by the gray light top, and a bit higher to make it easier to put them altogether. You also have the choice to put in as many bulbs as you like for your garland.
- Fifth, hang it atop your windows and enjoy the view!
Key Takeaway
Have you already tried doing them? Ring us up on the comments below and we’ll gladly lend you our ears about your DIY Christmas decoration experience! Surely, your townhouse in San Juan or wherever you are, looked extremely awesome with these fabulous decors.