Summer months can be pretty exciting and fun, particularly for students who have been waiting for them to happen ever since the last ones ended. But you got to admit that it can also get really boring once all the excitement is gone.
Fortunately, there are several crafts for you to sell that should keep you occupied during down times. The best thing about this idea, however, is the cash you are likely to get after making a few sales.
To help you out, here are some ideas you can create and sell:
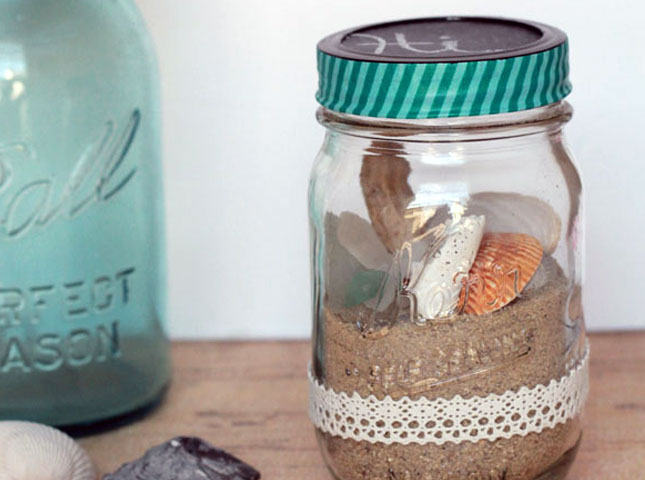
Photo Courtesy
Beach in a mason jar
This is perfect for those who have already visited the beach. You can collect some of your materials there, after all.
Materials:
- Mason Jar
- Sand
- Seashells
- Sea glass (optional)
Directions:
- First thing you need to do is make sure your mason jar is clean and spotless.
- Pour in a good amount of sand inside the mason jar. Make sure it covers ½ of the jar.
- Decorate your jar according to your preference. Place in the seashells and the sea glass you collected on the beach.

Photo Courtesy
Popsicle Stick Bookmarks
Nothing like a cute bookmark to get you more inspired to read more books. Inspire other people to read more by creating and selling these bookmarks to them. Here’s how you make it:
Materials:
- Popsicle sticks
- Paper shapes or foam
- Glue
- Googly eyes
- Permanent marker
- Paint (optional)
Directions:
- If you want to paint your popsicle sticks, then you should paint them first. Leave them to dry afterwards.
- Cut out different animal faces with the use of paper shapes or foam. Once you have created the outline of their faces, use glue to stick the googly eyes on them. Complete the whole look by drawing added features, such as their noses and mouths, with the help of the permanent marker.
- Stick the faces on the top part of your popsicle sticks. These will serve as an indicator for the bookmark.
Photo Courtesy
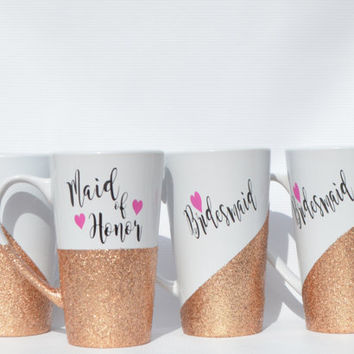
Glitter dipped mugs
Everybody seems to love glitter these days. For them, glitter is life!
If you want to make a profit out of glitter, here are the materials and instructions you must follow to create glitter dipped mugs:
Materials:
- Porcelain mugs or plain glass
- Masking tape
- Gloss finish
- Paintbrush
- Glitter
Directions:
- Stick the tape on the bottom part of the mug. Make sure you also placed some tape on the handle, itself.
- Get your paint brush and carefully paint the gloss finish below the tape. Before it completely dries, generously spread glitter all over it—covering the entire spot, including the one placed on the handle.
- Peel the tape from the mug. Don’t wait until the gloss dries off.
- Let the mugs dry upside down and leave them be for at least one night.
Go ahead and make all these projects or create one on your own so what you’re selling can be totally unique. It’s completely up to you! By doing this, you can save some money that you can use to see that future concert you have been waiting to go to. Just keep in mind to also save some as an emergency fund for you as well!